Rooms
Specials
Events
Weddings
Food
Area
Inn
410-778-1860
Home
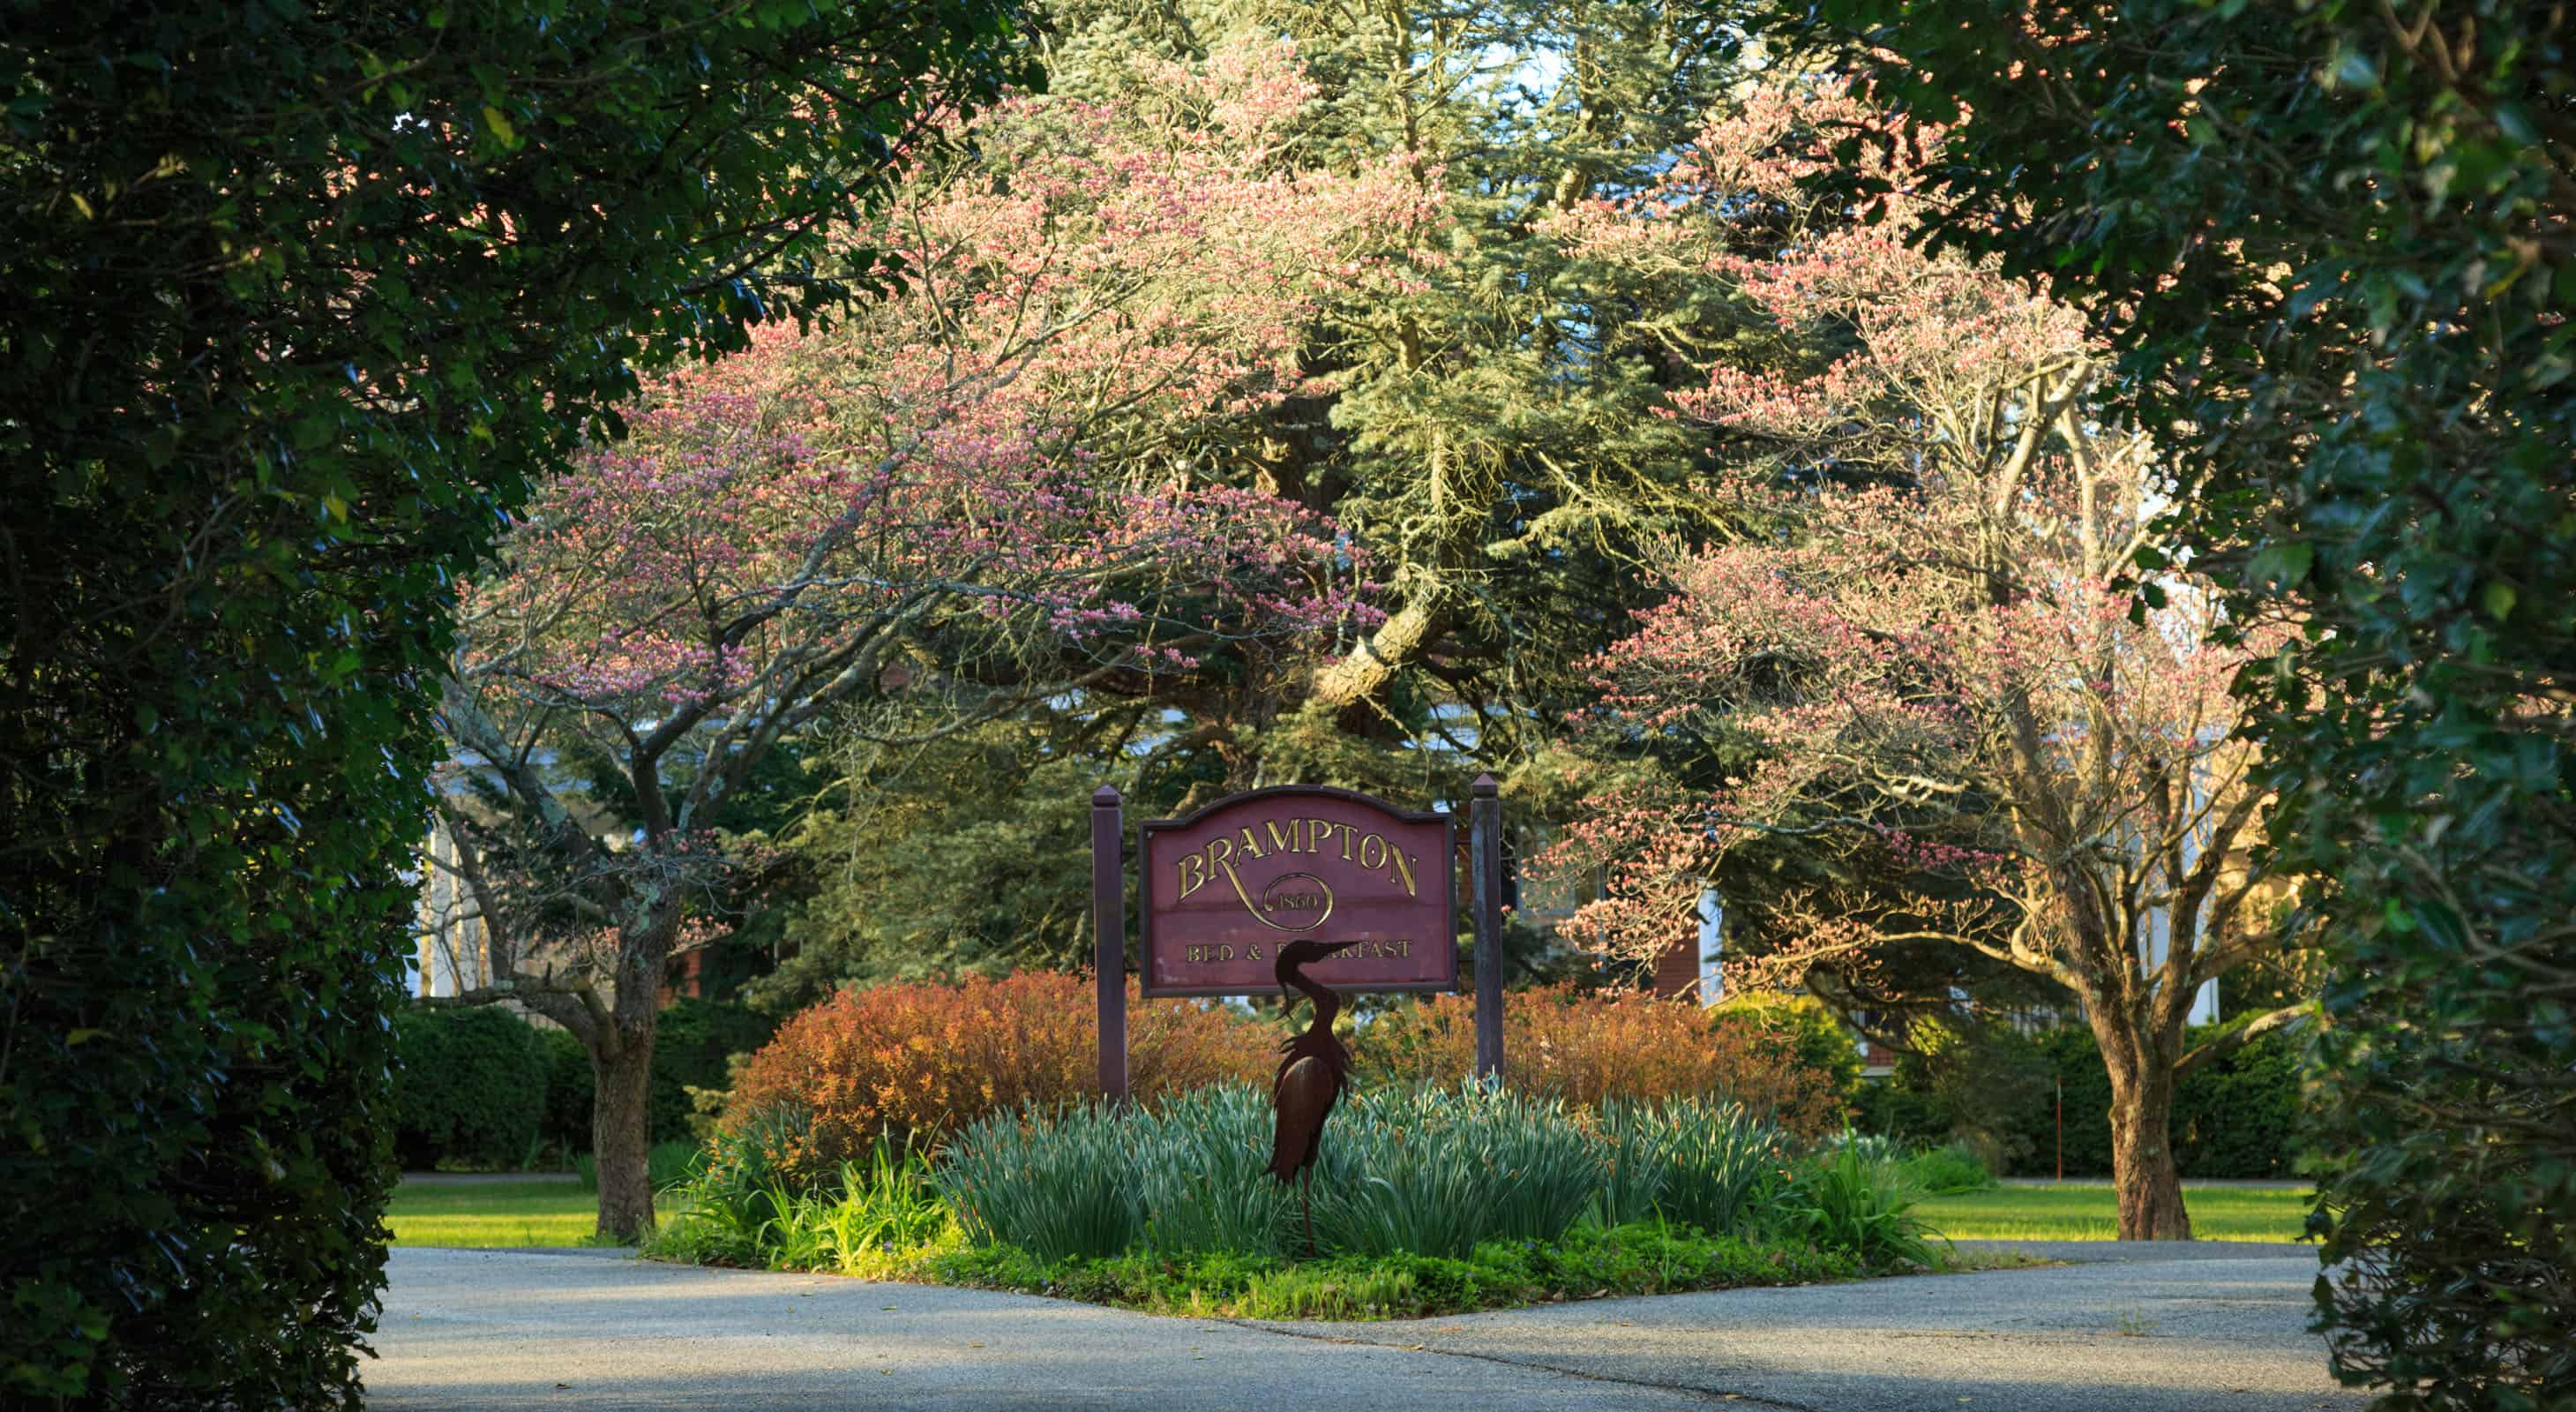
Brampton 1860
Chestertown, Maryland
Home
Reservations
Menu
Rooms
Rooms Overview
Comparison Chart
Amenities
Accessibility
Policies
Dog Friendly
Travel Insurance
Specials
Specials
Packages
Enhancements
Gift Certificates
Events
Celebrations
Business Meetings
Weddings
Elopements & Vow Renewals
Honeymoons
Wedding Gallery
Wedding Inquiry
Food
Breakfast
Dining Packages
Tea Time
Recipes
Area
Our Area
Events & Classes
Brampton Blog
Inn
About The Inn
The Innkeepers
Map & Directions
Gardens
Stay Safe
Photo Gallery
Press & Accolades
Rooms Overview
Comparison Chart
Dog Friendly
Specials & Packages
Events
Events
Celebrations
Business Meetings
Weddings
Weddings
Elopements & Vow Renewals
Honeymoons
Wedding Gallery
Request Info
Food
Breakfast
Dining Packages
Tea Time
Our Area
Area & Restaurants
Events & Classes
Blog
Inn
About The Inn
Stay Small, Stay Safe
Gardens
Photo Gallery
Press & Accolades
Travel Insurance
Gift Certificates
Reservations
Home
Previous
Next
Call
Map
Pics
Deals
Book
Posts Categorized:
Recipes
View Categories
News & Events
Eastern Shore Outdoor Recreation
Eastern Shore Tours
Food and Drink
Travel Tips
Eastern Shore Things to Do
Events
Eastern Shore Natural Wonders
Holidays and Special Occasions
Weddings & Elopements
View Archived by Date
2026
2025
2024
2023
2022
2021
2020
2019
2018
2016
2015
2010
No Posts Yet
Sorry, What you were looking for is not here.
Explore seasonal offers and hand-picked packages designed to make your getaway unforgettable.
EXPLORE
J
oin us for Special Events here at Brampton 1860 including our monthly wine pairing small plates dinner.
RESERVE
Become a Preferred Guest!
Be the first to find out about upcoming events and seasonal specials at Brampton 1860!
SIGN UP